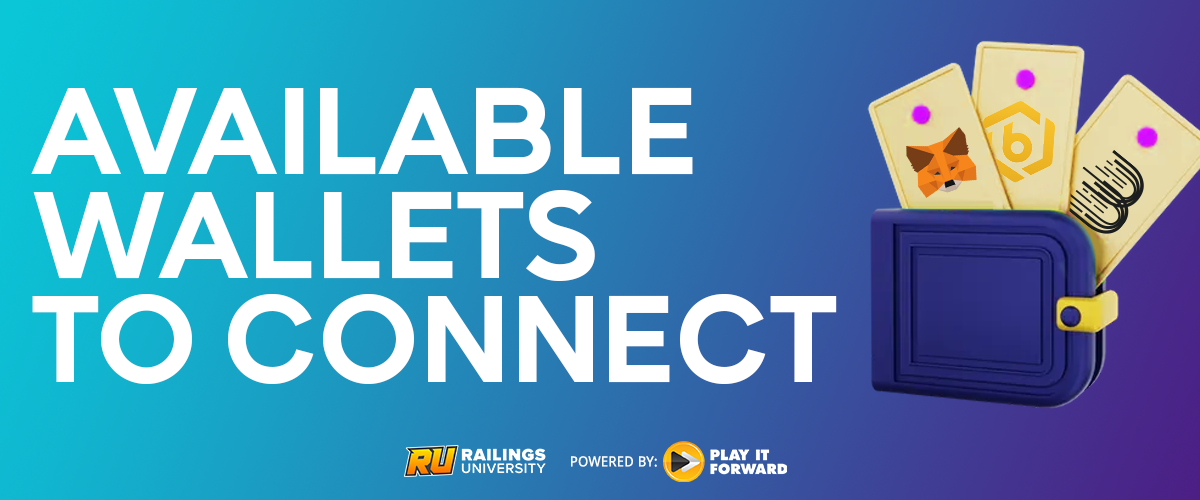
If you are looking to earn GameFi rewards through PIF’s Quests platform, it’s essential to have a connected crypto wallet. Quests allow users to connect three wallets: MetaMask, BitMart, and Bitrue. Here’s a closer look at each of these wallets:
MetaMask
MetaMask is a browser extension and mobile app that provides users with a key vault, token wallet, and token exchange. Those who interact with decentralized applications (dApps) on the Ethereum blockchain widely use one of the most popular crypto wallets.
With MetaMask, you can buy, store, send, and swap tokens. It generates passwords and keys on your device, ensuring that you have complete control over your accounts and data.
Learn how to create a MetaMask wallet here.
BitMart
BitMart is a centralized exchange that offers fast, secure, and professional crypto trading services. It supports over 750 high-quality currencies and 800+ trading pairs, including $PIF. BitMart has a hybrid hot/cold wallet system and advanced risk control technology, making it a secure option for storing your cryptocurrencies.
Additionally, BitMart allows users to purchase cryptos with credit/debit cards, making it an easy-to-use platform for initiating cryptocurrency investments and management.
Learn how to create a BitMart account here.
Bitrue
Bitrue is a one-stop trading platform that uses blockchain and new technologies to give users fair access to financial services. This exchange is fast, safe, and secure, allowing users to conduct transactions of digital currencies at any time with peace of mind.
The platform supports multiple perpetual futures margined in USDT, USDC, digital currencies, and leveraged ETFs. Additionally, Bitrue allows users to earn some of the highest interest rates in the industry.
Learn how to create a Bitrue wallet here.
How to configure your crypto wallet on Quests

To ensure that you will receive your Quests rewards to your chosen crypto wallet, you have to connect and configure the wallet on the Quests platform. Here is a step-by-step guide on how to do it:
- Log in to your Quests account.
- Click “Profile” at the top right corner of the screen.

- Scroll down to “Wallet Options” and choose your desired crypto wallet. Then, input your wallet address and click “Save.”

- Ensure that your crypto wallet is properly configured on the Quests platform by going to your Dashboard, located at the upper left corner of the screen.

- Scroll down to the withdrawal settings and check if your wallet address is already reflected in the respective fields. Toggle the auto withdraw option if you want your rewards to be automatically sent to your crypto wallet.

Why it is crucial to connect your crypto wallet
All crypto token rewards from the Quests platform will be sent automatically to your crypto wallet, so you will need a connected wallet to receive your rewards. With a connected wallet, you can take advantage of your chosen crypto wallet’s security and privacy features and easily access your rewards anytime.
Hi
Baik.